When and how to replace your cassette
Cassettes wear in lockstep with chains; catch them at the right point and you swap a $50 part instead of a $250 one. This guide covers when to call it, how to tell a cassette from a freewheel, and how to remove either cleanly with the right Unior tool.
On this page
Cassettes wear in lockstep with chains, but the wear is quieter and the bill is bigger. A chain that's been ridden past its replacement point reshapes the cassette cogs to match its own stretched pitch. When you finally install a fresh chain, it skips on the cogs you use most, the new chain doesn't sit right on the deformed teeth, and the bike sounds wrong under load. Catching the cassette at the right point means swapping a $50–250 part on its own; missing it means the chain plus the cassette plus, sometimes, the small chainring too.
This guide walks through when a cassette is done, how to tell a cassette from a freewheel (the call drives which tool you reach for), and how to remove either cleanly with the Integrated Cassette Lockring Wrench and the rest of the Unior cassette-and-freewheel range.
How to know your cassette is worn
Two ways to read cassette wear, in order of accuracy:
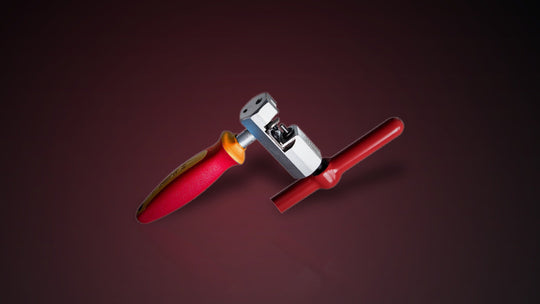
1. The sprocket wear indicator. The Sprocket Wear Indicator 1658/2P is a chain-on-cog gauge: drape its short chain length over the cog you use most, plant the tip of the chrome-plated bar in the next valley, lever down with about 10 Nm of force, and watch whether the last link drops into the tooth valley or sits high. If it drops in, the cog still has the geometry a new chain expects and the cassette is in its service window. If the link sits high and resists pressing into the valley, the cog teeth have been reshaped enough that fresh chain won't seat; the cassette is past its window. Read the cogs you ride hardest; the middle three or four on a road cassette, the climbing cogs on an MTB. The first one to fail is the first one you've been hammering.
2. The new-chain-skip test. If you've already replaced the chain and the bike skips under load on specific cogs after the new chain is in, those cogs are reshaped. The skip is the cassette telling you it doesn't match the new chain's pitch any more. The 0.5%- and 0.75%-elongation chain-wear thresholds (read on the Chain Wear Indicator 1644/6) are early warnings; the cassette skipping under a new chain is the late warning. Either gauge is more reliable than waiting to hear the skip, but if you're already there, the cassette goes.
The 0.5% chain threshold matters here because it's the call that protects the cassette. Replacing a chain at 0.5% elongation on an 11- or 12-speed drivetrain usually means the cassette survives. Replacing the chain at 0.75% on an 11- or 12-speed usually means the cassette also needs to go. Past 1%, expect to replace the small chainring too.
Cassette or freewheel; how to tell
The two systems look similar from the side but engage the hub differently, and the wrong tool will slip and round the splines. The check takes ten seconds:
- Cassette. The cogs slide onto a splined freehub body that's part of the wheel. A lockring threads on top to hold the stack in place. To remove, the lockring tool engages splines or notches on the lockring itself; the freehub stays on the wheel and the cogs come off as a group. Used on every modern derailleur bike from 7- through 13-speed, and on most singlespeed and fixed builds since the late 1990s.
- Freewheel. The whole sprocket cluster threads onto the hub as one unit; the ratcheting mechanism lives inside the freewheel body, not the hub. To remove, the tool engages flats, prongs, or splines on the outside or end of the freewheel, and the cluster spins off the hub. Found on most pre-1996 derailleur bikes, BMX builds, kids' bikes, and a fair number of singlespeeds at the budget end of the catalog.
If you're not sure: spin the cluster backwards by hand. If you hear the ratchet click and feel the cogs spin while the hub stays still, look at where the click is coming from. Click from the hub body = freewheel system; click from the freehub behind the cogs = cassette system.
How to remove a Shimano/SRAM cassette
Shimano and SRAM cassettes share the same 12-spline lockring pattern (HG), so one Unior lockring tool covers both. The decision is which version of the lockring tool; the choice is mostly about how stuck the lockring is and what hub the wheel runs on.
- Remove the wheel and the skewer or thru-axle. A skewer-style hub takes the Shimano/SRAM Cassette Lockring Tool 1670.5/4 on a 1/2" ratchet or breaker bar. A thru-axle hub takes the Cassette Lockring Tool with 12mm Guide 1670.9/4, whose centring pin slides into the 12 mm thru-axle bore and stops the tool from skipping out of the splines under torque. Both run on a standard 24 mm wrench flat or 1/2" drive.
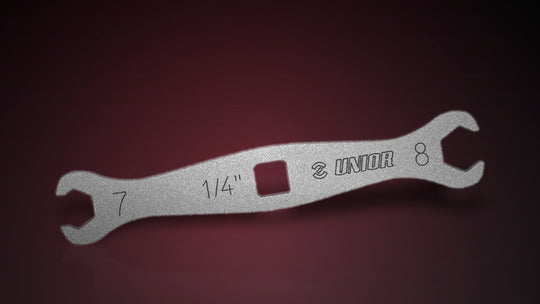
- Hold the cassette still. Wrap a chain whip or cassette wrench around one of the larger cogs. Our Multispeed Chainwhip 1660/2DP-US handles 6- through 12-speed including SRAM AXS Flattop; the Cassette Wrench 11/12t is the chain-whip alternative for cassettes with an 11- or 12-tooth small cog (no chain to wrangle, three pins engage the cog directly). For SRAM AXS X-Range cassettes with a 10-tooth small cog, the Cassette Wrench X Range is the X-range-specific variant.
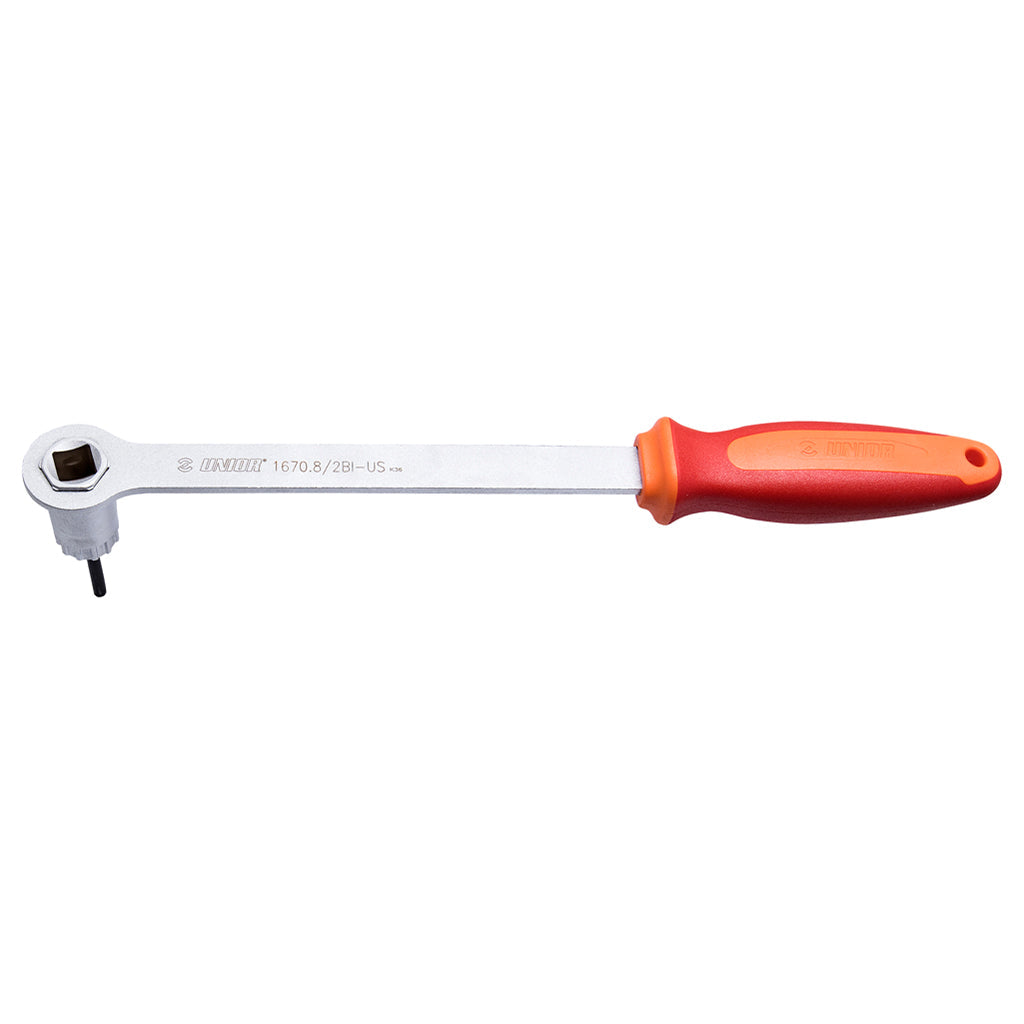
- Loosen the lockring. Counter-clockwise, firmly. Worn lockrings can be honestly stuck; if you don't have a long-handled tool, an integrated handle like the 1670.8/2BI-US gives you the leverage in a single piece, with the guide pin built in so the splines don't pop.
- Lift the cassette off. Note the spacer at the back of the freehub if there is one; some 11-speed cassettes on 10-speed freehubs use a thin spacer behind the largest cog.
The Emergency Pocket Cassette Lockring Tool 1669/4 is the field version of the same job; pocket-format, with a plastic frame guard, for the cassette swap you weren't planning to do on the trailside.
How to remove a Campagnolo cassette
Campagnolo uses its own splined-lockring pattern; the Shimano/SRAM tool will slip. The Campagnolo Cassette Lockring Tool 1670.4/4 is the Campy-pattern equivalent. The rest of the procedure is identical to the Shimano/SRAM workflow above; chain whip or cassette wrench to hold the cogs, lockring tool on a ratchet or breaker bar, counter-clockwise loosen.
How to remove a freewheel
Freewheels predate the cassette system, and the pre-1996 catalog left several spline and prong patterns that haven't been unified. Match the tool to the freewheel:
- Shimano-pattern freewheels (also fits SRAM, Sachs, SunRace): Shimano Freewheel Tool 1670.1/4. Same 24 mm wrench flat as the modern lockring tools.
- SunTour 4-prong: Freewheel Remover 1670.3/4. Four prongs at 19.9 mm internal spacing.
- SunTour 2-prong (older): Freewheel Remover 1670.2/4. Two prongs at 19.6 mm internal spacing; the oldest of the Sun freewheel patterns.
- BMX / singlespeed 4-prong: Freewheel Remover, 4-pin BMX 1670.6/4. Wider prong spacing (35 mm internal) than the SunTour 4-prong.
- Universal freewheel (engagement points rounded off, unknown brand): Universal Single-Speed Freewheel Remover 1722/2BI-US. Clamps the body rather than engaging splines or prongs, so it works when the original tool pattern has rounded over.
Our shop tip for every freewheel removal: thread the wheel's quick-release skewer or thru-axle back through with the lockring tool seated, snug the QR or axle nut against the tool's outer face, then turn. The QR or axle nut stops the tool from popping out of the engagement points the first time the freewheel resists. Loosen the QR a quarter turn each time the freewheel breaks free and the tool wants to lift.
Reinstall and torque
Lockrings have a torque spec; Shimano publishes 40 Nm for HG cassette lockrings; SRAM publishes 40 Nm for HG and 35–45 Nm for XD/XDR; Campagnolo publishes 50 Nm for road lockrings. Below spec, the cassette can creep on the freehub under load and reshape the splines; over spec, the lockring digs the freehub body's aluminium and is harder to remove next time. A torque wrench earns its keep on this step.
Freewheels don't have a separate lockring; they self-tighten as the bike is ridden, so reinstall is simply threading the freewheel onto the hub by hand with a touch of anti-seize. The first hard pedal stroke after a wheelbuild snugs it.
Our shop pick
The Integrated Cassette Lockring Wrench w/Guide 1670.8/2BI-US is the cassette tool we reach for first. It's the Shimano/SRAM lockring tool, the guide pin, and a long bi-material handle in one piece; the tool that turns the "I need a ratchet, a breaker bar, an adapter, and a guide pin" workflow into one motion. For everything outside the HG-pattern range; Campagnolo, freewheels, X-Range; the rest of the Unior cassette-and-freewheel range covers it.